The Snarky Cats!
Because you know they're thinking it...
The Genesis
A few years ago, I worked a job in Pittsburgh, PA. One weekend, I was shopping in a local store and found these fantastic cards - old timey black and white photos of people paired with snarky, sarcastic, biting comments that made me laugh.
When I started my graphite drawings, I gravitated towards cats, since I have my own unlimited supply of reference material.
Further, we’ve always put voices to our cats to describe what they’re thinking. I paired that with the drawings, and the Snarky Cats were born!
My Models
Most of my drawings are based on real-life pictures of our cats:
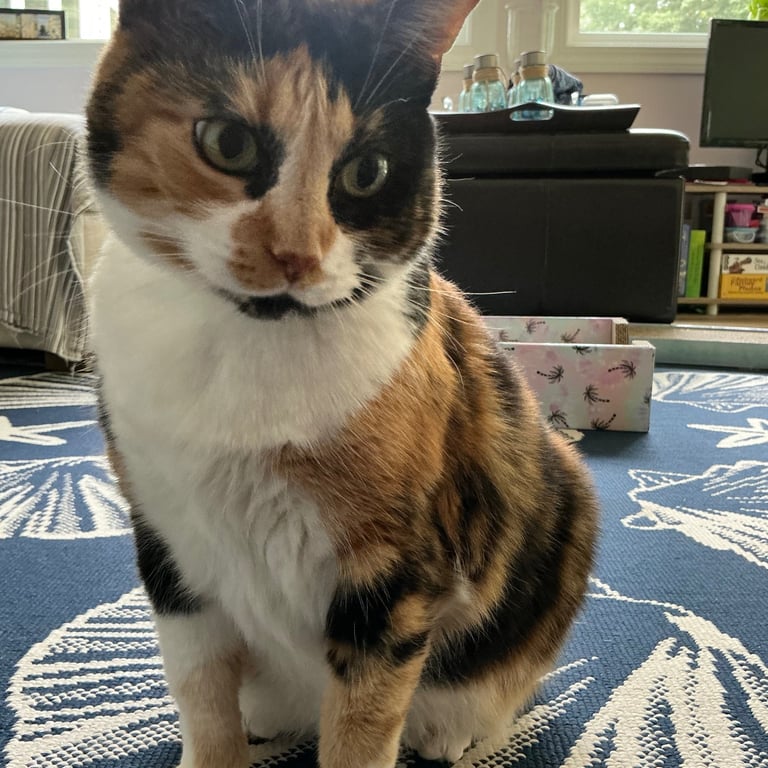
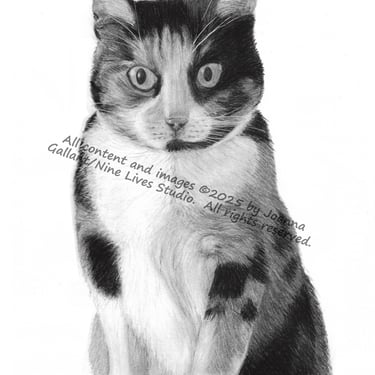
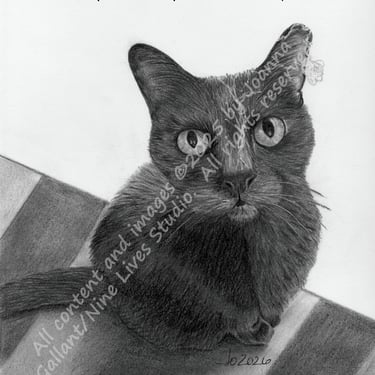
Iris, our 8 year old money cat
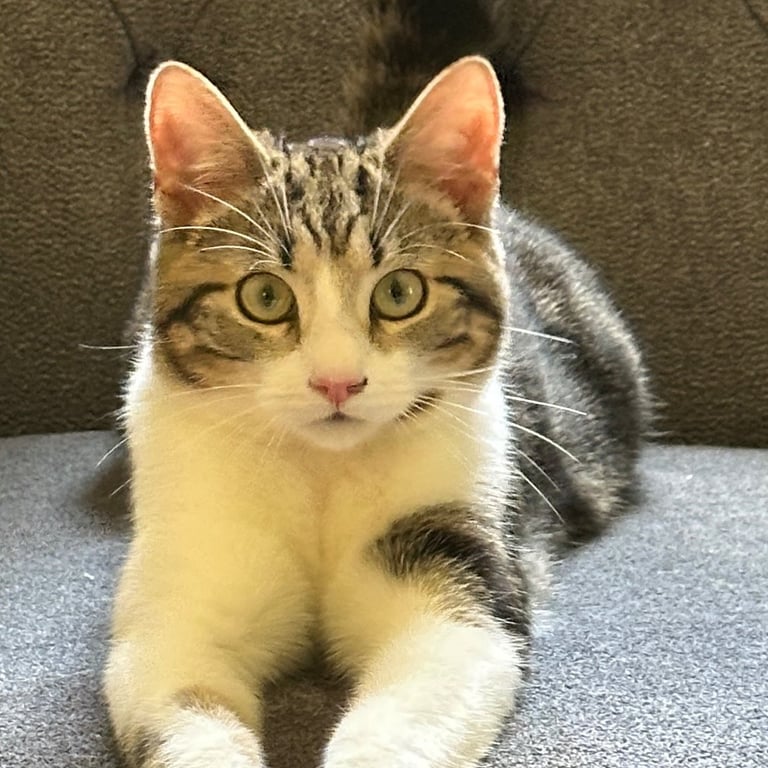
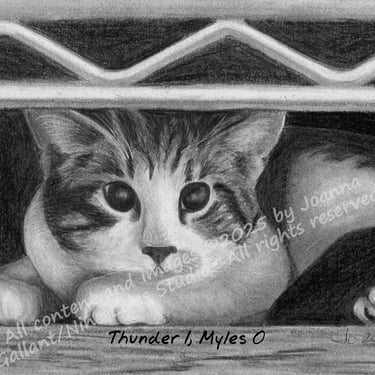
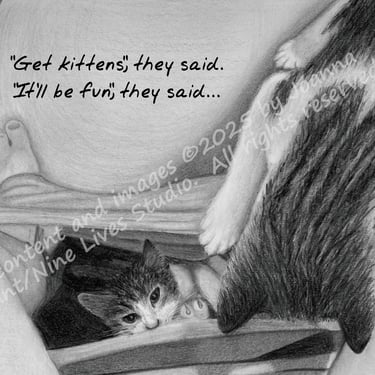
Stella and Myles, a brother and sister pair of kittens we adopted in 2025 at 3 1/2 months old.

Other drawings are inspired from pictures I've seen on websites of images for artists (such as Pixabay).
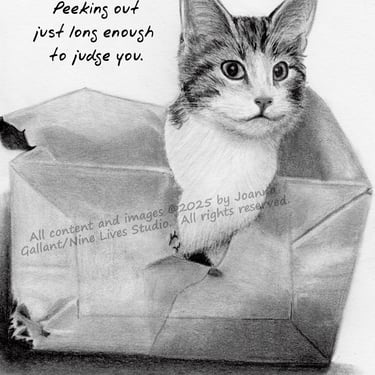
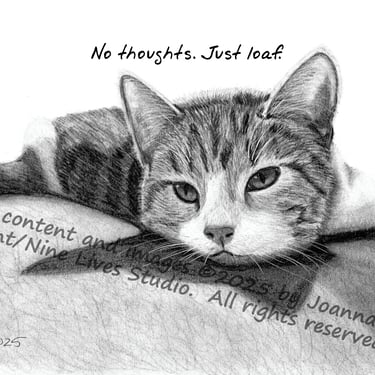
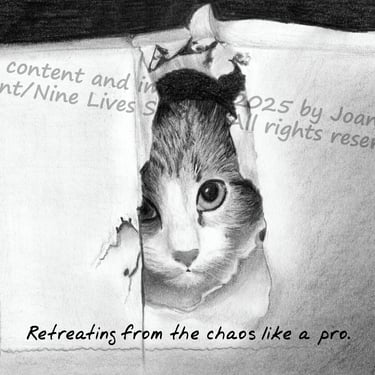
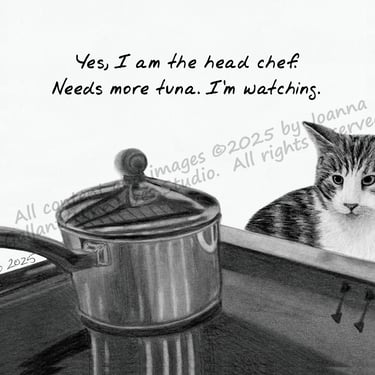
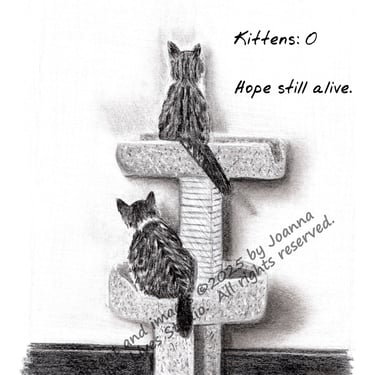
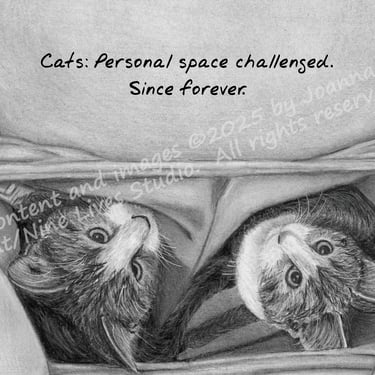
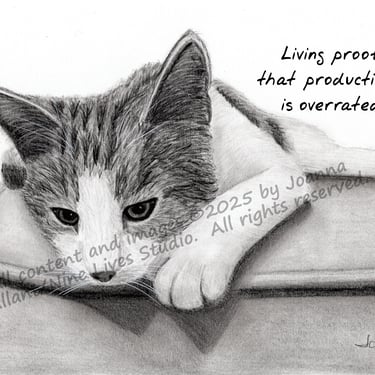
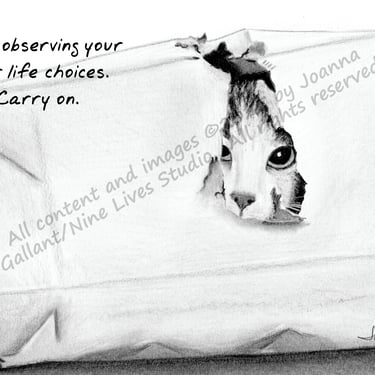
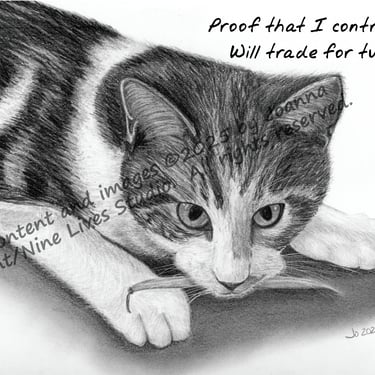
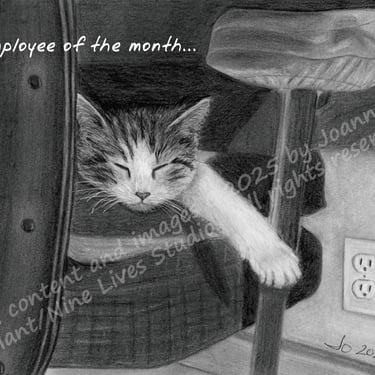
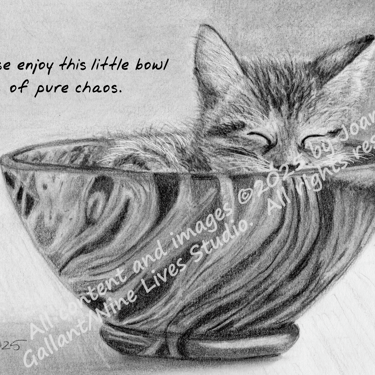
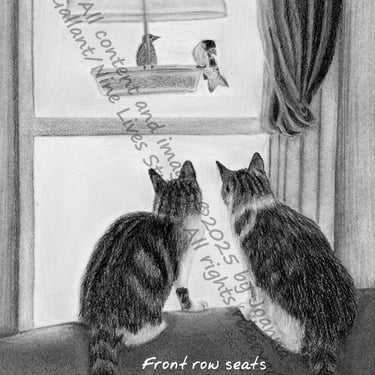
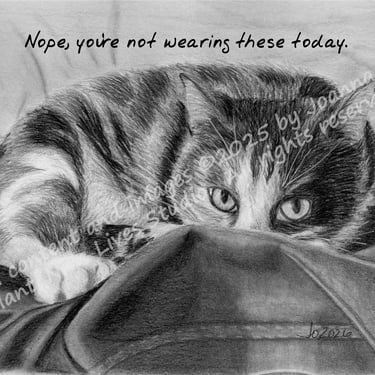
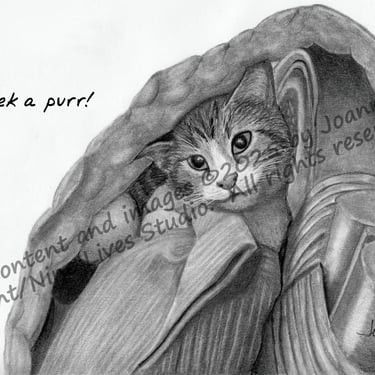
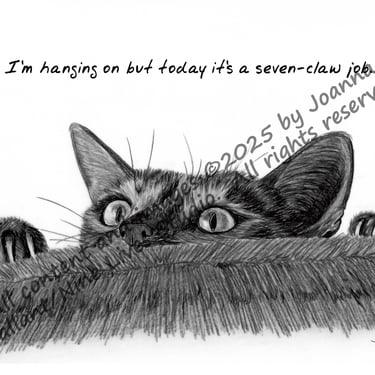
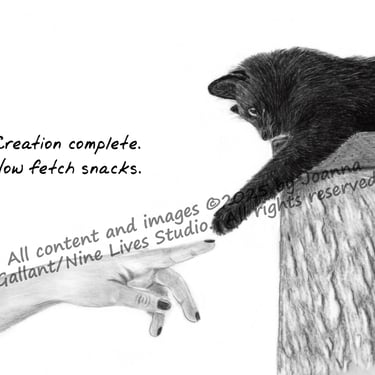
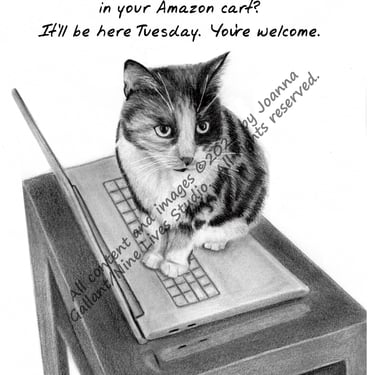
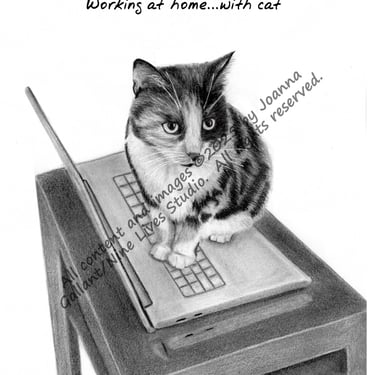
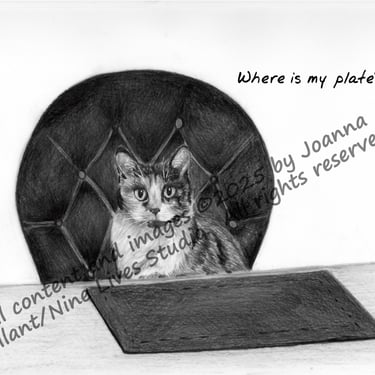
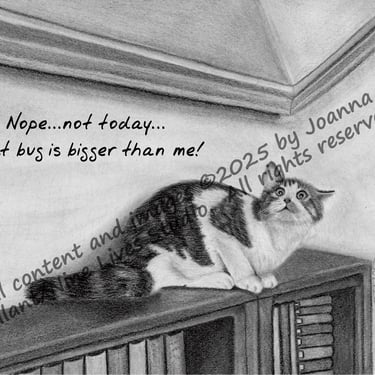
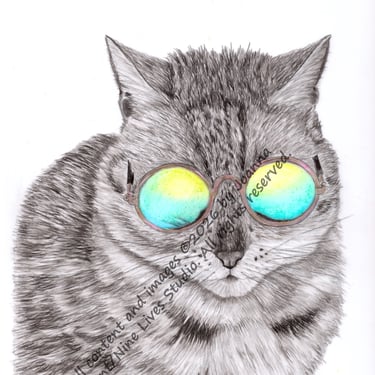
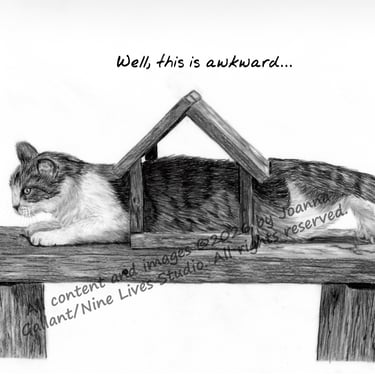
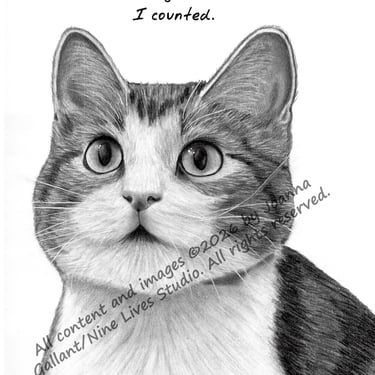
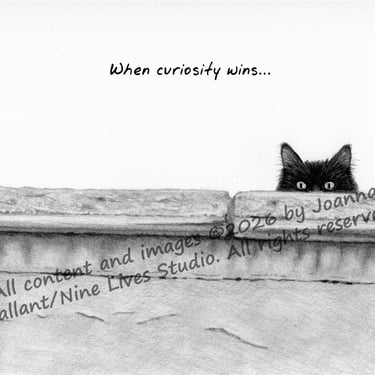
The snark...so far:
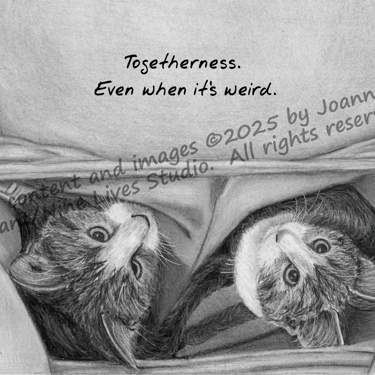
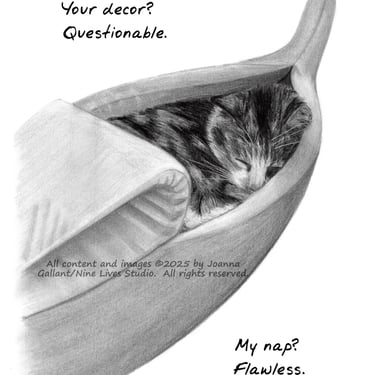
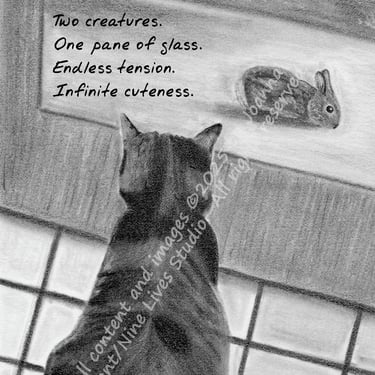
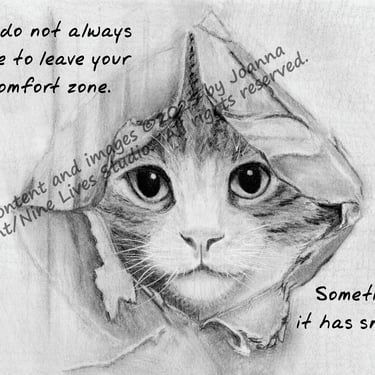
Sometimes you can tell what they're thinking from the looks on their faces.


More to come...stay tuned!
My Process
I get asked a lot how I get the snarky cat images to look so realistic - so I took pictures of my process and how I get from photo to finished product. Here's what I do:
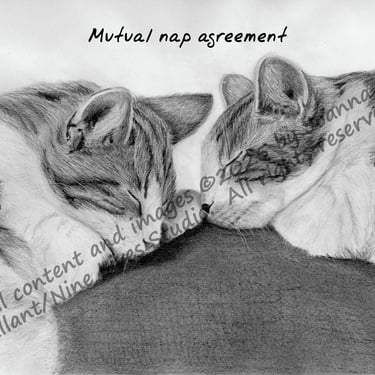
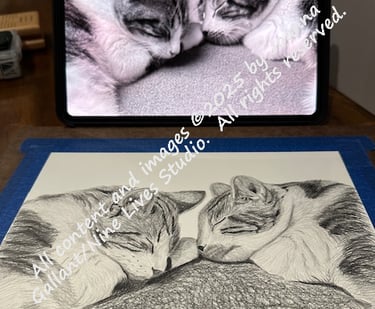
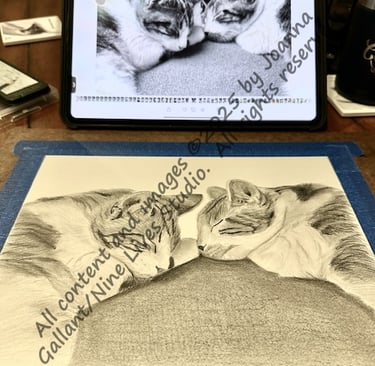
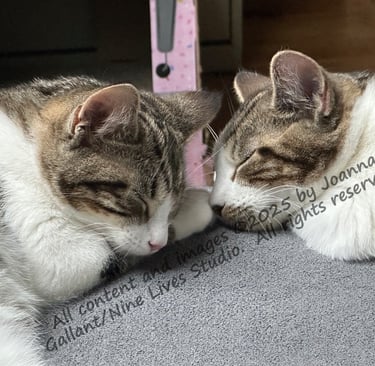
Find or take a photo.
I thought this photo of the kittens napping together would make a great image for a graphite drawing.
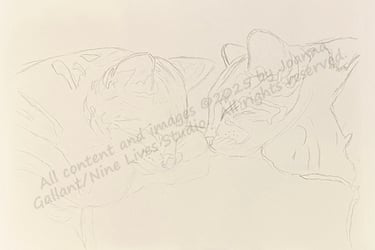
Convert the photo to line art.
Sometimes I trace the main lines onto tracing paper, other times I use computerized line art generators to create line art and remove or block out items I don't want in the picture.
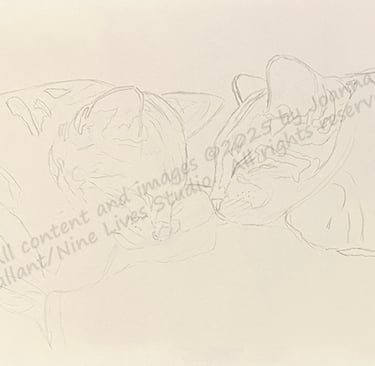
Transfer line art to paper.
I either trace or use an inkjet printer to transfer the line art onto my paper. I typically use Strathmore Colored Pencil Paper for my graphite drawings; recently, I've also started using drafting film.
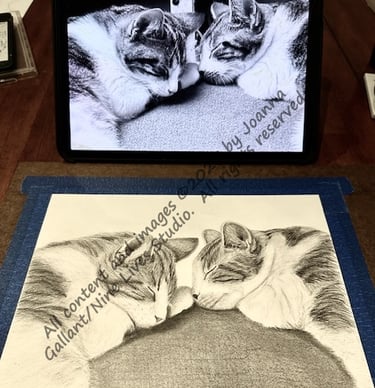
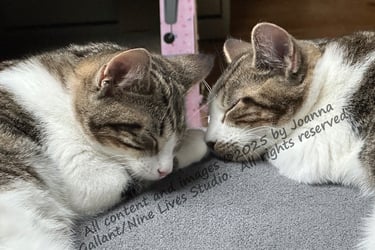
Recolor the original photo to black and white.
When I'm ready to start drawing, I recolor the original photo by altering the saturation level on the image - cutting saturation down leads to a black/white/gray image that I use as my reference while drawing.
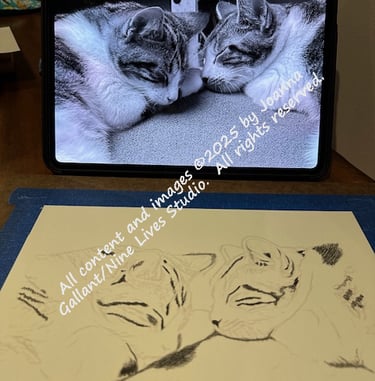
Draw!
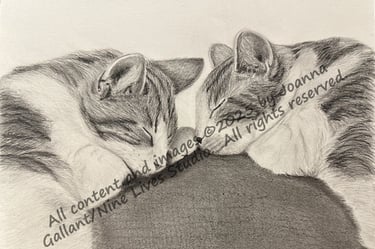
Then, I do the drawing work:
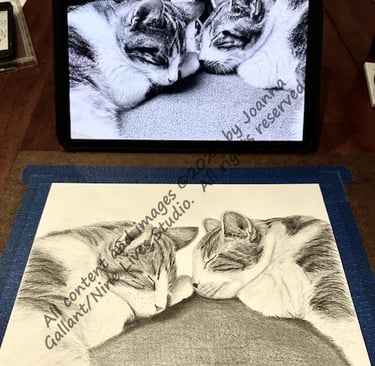
I start with the darkest areas, then the lightest areas, and then work through the mid-tones until I get a base of color down on the entire image, using the reference and the line art as a guide.
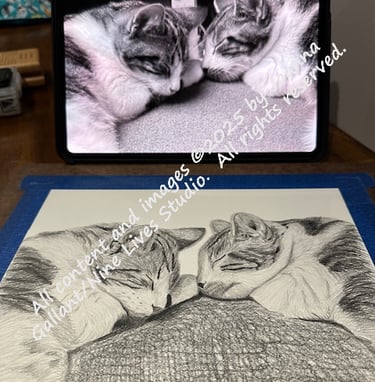
Once based in, I blend - even on the cats' fur, so there's a base of color under the detail.
Then, I add detail and blend or remove as needed, following the reference image as a guide.
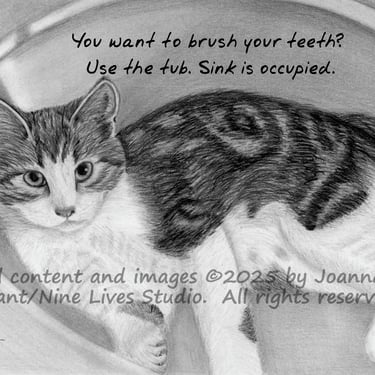
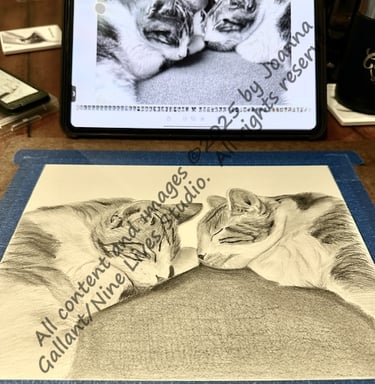
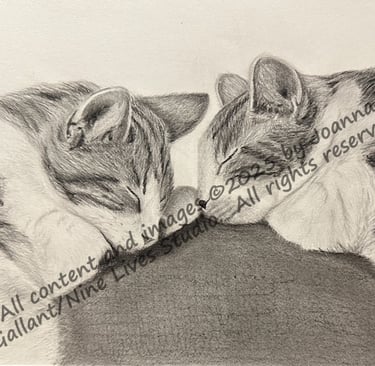
When complete, I use a workable fixative to protect the drawing from smudging/damage. (The image to the right is almost done...just need to add kitty whiskers!)
Generating cards
Next I scan the image (600 dpi) and touch up as necessary. I use PaintX for touch ups.
I use PhotoPea online to lay out and brand the cards, and add the cat's snarky commentary.
Each card is saved as a .psd file, which I then print on an Epson ET-8550 printer using Red River Paper stock.

Contact
Questions or commissions? Reach out anytime.
© 2026. All rights reserved.
Site/Shop Policies: